
DGX SparkでNemoClawを始めよう
NVIDIA DGX SparkはNemoClawの理想的な開発プラットフォームである。Grace Blackwellアーキテクチャにより128GBのユニファイドメモリと最大1ペタフロップスのAIコンピュート性能を備え、単一のDGX SparkでNemotron 120B MoEを含むNemoClawスタック全体をデスク上でローカル実行できる。
このチュートリアルでは、開封から最初のセキュアなエージェントBlueprintの実行までの完全なセットアッププロセスを解説する。
前提条件
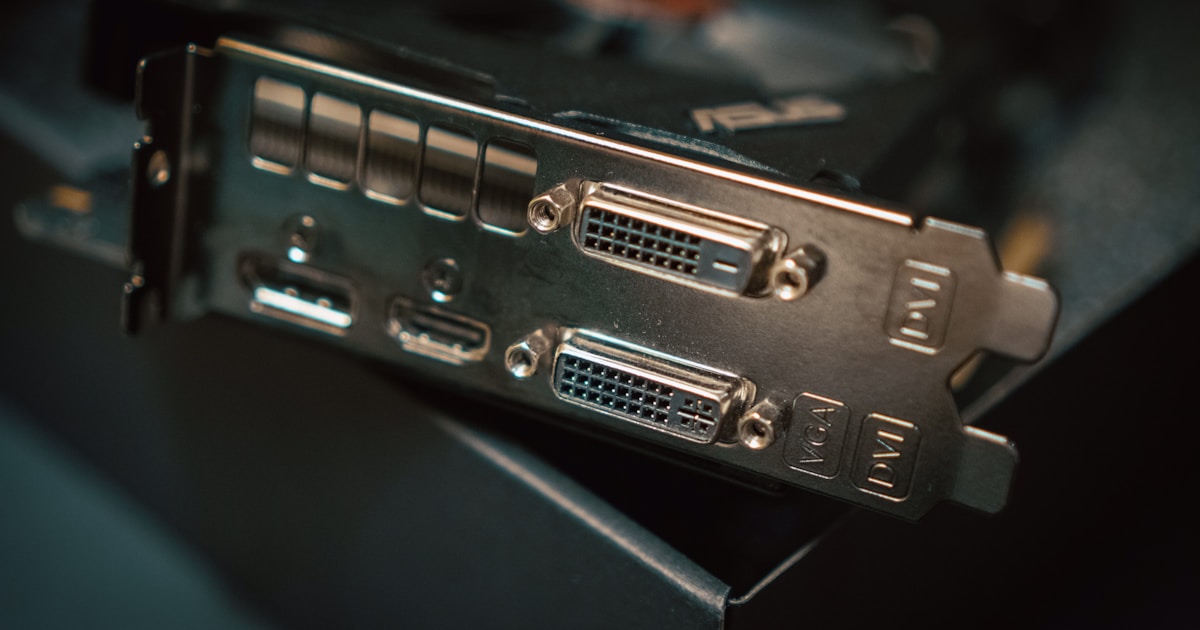
- •NVIDIA DGX Spark(または24GB以上のVRAMを搭載したNVIDIA GPU搭載システム、量子化モデル用)
- •Ubuntu 22.04 LTS以降(DGX OSはSparkにプリインストール済み)
- •Docker 24.0以降、NVIDIA Container Toolkit付き
- •モデルとコンテナ用に50GBの空きディスク容量
ステップ1:NemoClaw CLIのインストール
NemoClaw CLIはスタック管理の主要インターフェースである。公式インストーラーからインストールする:
# Download and run the NemoClaw installer
curl -fsSL https://github.com/NVIDIA/NemoClaw | bash

# Verify installation
nemoclaw version
# Output: nemoclaw v1.0.0-preview (built for linux/arm64)

# Initialize NemoClaw in your project directory
mkdir my-first-agent && cd my-first-agent
nemoclaw init
nemoclaw initコマンドはプロジェクトのスキャフォールドを作成する:
my-first-agent/
├── nemoclaw.yaml          # Main configuration
├── policies/
│   ├── sandbox.yaml       # OpenShell sandbox policies
│   ├── network.yaml       # Network access policies
│   └── privacy.yaml       # Privacy Router configuration
├── blueprints/
│   └── starter.yaml       # Default agent blueprint
└── scripts/
    ├── setup.sh           # Environment setup script
    └── test-agent.sh      # Agent smoke test
ステップ2:スタックの設定
nemoclaw.yamlを編集してデプロイメントを設定する:
# nemoclaw.yaml
apiVersion: nemoclaw.nvidia.com/v1
kind: NemoClawConfig
metadata:
  name: my-first-deployment
spec:
  # Model configuration
  model:
    provider: local
    name: nemotron-120b-moe
    quantization: int4  # Use INT4 for DGX Spark
    gpuLayers: all

  # OpenShell configuration
  openshell:
    enabled: true
    isolationLevel: standard  # standard | strict | paranoid
    auditLog: true

  # Privacy Router configuration
  privacyRouter:
    enabled: true
    defaultRoute: local
    cloudEndpoints: []  # No cloud endpoints for local-only setup

  # Network Policy Engine
  networkPolicy:
    enabled: true
    defaultAction: deny
    allowlist:
      - "*.internal.company.com"

  # Agent configuration
  agent:
    framework: openclaw
    version: "3.13"
    maxConcurrentTasks: 8
ステップ3:Nemotronモデルのダウンロード
NemoClawはNemotron 120B MoEをポリシー評価エンジンとして使用する。DGX Sparkでは、128GBユニファイドメモリに余裕を持って収まるINT4量子化バリアントを使用する:
# Pull the Nemotron model (approximately 35GB)
nemoclaw model pull nemotron-120b-moe-int4

# Verify the model is ready
nemoclaw model list
# Output:
# NAME                        SIZE     STATUS
# nemotron-120b-moe-int4      34.7GB   ready
メモリの少ないシステムでは、NemoClawは小型モデルもサポートしている:
# Alternative: Nemotron 8B for systems with 24GB VRAM
nemoclaw model pull nemotron-nano-4b
ステップ4:NemoClawランタイムの起動
単一のコマンドでフルスタックを起動する:
# Start all NemoClaw services
nemoclaw up

# Output:
# ✓ OpenShell runtime started (kernel modules loaded)
# ✓ Nemotron 120B MoE loaded (34.7GB, 4-bit quantized)
# ✓ Privacy Router initialized (local-only mode)
# ✓ Network Policy Engine active (deny-by-default)
# ✓ OpenClaw agent framework ready
#
# NemoClaw is running at http://localhost:7860
# Dashboard: http://localhost:7860/dashboard
# API: http://localhost:7860/api/v1
ダッシュボードはエージェントの実行、ポリシー評価、セキュリティイベントをリアルタイムで可視化する。
ステップ5:最初のBlueprintをデプロイする
Blueprintは、セキュリティポリシーが組み込まれた設定済みのエージェントテンプレートである。カスタマーサポートBlueprintをデプロイしてみよう:
# List available blueprints
nemoclaw blueprint list
# Output:
# NAME                  DESCRIPTION                          SECURITY LEVEL
# customer-support      Tier-1 support ticket handling       standard
# sales-ops            CRM and sales automation              standard
# security-ops         Alert triage and remediation           strict
# infra-management     Cloud resource management              strict
# code-review          PR analysis and vulnerability scan     standard
# data-pipeline        ETL orchestration                      standard

# Deploy the customer support blueprint
nemoclaw blueprint deploy customer-support
- •OpenShellサンドボックスポリシー(ファイルシステムとネットワークアクセスを制限)
- •Nemotronポリシールール(PII検出、意図分類)
- •ネットワーク許可リスト(承認済みAPIエンドポイントのみ)
- •オペレーター承認ワークフロー(返金、アカウント変更のエスカレーション)
ステップ6:エージェントをテストする
セキュア化されたエージェントにテストリクエストを送信する:
# Send a test message to the agent
nemoclaw agent test --blueprint customer-support \
  --message "Customer John Smith (ID: 12345) is asking about their recent order #ORD-9876. They want to know the delivery status."

# Output:
# ┌──────────────────────────────────────────────┐
# │ NemoClaw Security Report                      │
# ├──────────────────────────────────────────────┤
# │ Policy Evaluation:     PASS (45ms)            │
# │ Intent Classification: customer-inquiry       │
# │ Data Sensitivity:      internal               │
# │ Model Route:           local (nemotron-120b)  │
# │ Sandbox:               cs-agent-sandbox-001   │
# │ Network Access:        crm.api, orders.api    │
# │ PII Detected:          name, customer-id      │
# │ PII Action:            redacted-from-logs     │
# │ Approval Required:     no                     │
# ├──────────────────────────────────────────────┤
# │ Agent Response:                                │
# │ "I've checked order #ORD-9876 for the         │
# │  customer. The order shipped on March 18       │
# │  via FedEx (tracking: FX123456789). Expected  │
# │  delivery is March 21."                        │
# └──────────────────────────────────────────────┘
- •意図を日常的なカスタマー問い合わせとして分類
- •PII(顧客名とID)を検出しログから墨消し
- •リクエストをローカルのNemotronモデルにルーティング
- •CRMと注文APIのみへのネットワークアクセスを許可
- •人間の承認は不要と判断
ステップ7:ダッシュボードで監視する
ブラウザでhttp://localhost:7860/dashboardを開き、NemoClaw監視ダッシュボードにアクセスする。主な機能:
- •リアルタイムイベントストリーム — すべてのエージェントアクション、ポリシー評価、セキュリティ判断
- •ポリシー違反アラート — エージェントが未承認のアクションを試みた際の即時通知
- •監査ログ — すべてのエージェント活動の完全で改ざん不可能な記録
- •パフォーマンスメトリクス — レイテンシー、スループット、リソース使用率
- •承認キュー — 高リスクアクションに対する保留中の人間の承認リクエスト
一般的な設定パターン
外部APIへの接続
エージェントに外部サービスへのアクセスを許可するには、ネットワークポリシーを更新する:
# policies/network.yaml
networkPolicy:
  egress:
    allow:
      - domain: "api.zendesk.com"
        methods: [GET, POST, PUT]
        headers:
          required: ["Authorization"]
      - domain: "api.stripe.com"
        methods: [GET]  # Read-only access to payment data
オペレーター承認の設定
機密操作に対する承認ワークフローを設定する:
# policies/sandbox.yaml
approvalWorkflow:
  enabled: true
  rules:
    - action: "refund.process"
      condition: "amount > 100"
      approvers: ["support-leads"]
      channel: "slack"
      timeout: "10m"
    - action: "account.modify"
      condition: "always"
      approvers: ["account-managers"]
      channel: "teams"
      timeout: "15m"
クラウドモデルルーティングの有効化
機密性の低いタスクでは、パフォーマンス向上のためにクラウドモデルルーティングを有効にできる:
# policies/privacy.yaml
privacyRouter:
  defaultRoute: local
  cloudEndpoints:
    - name: "nvidia-nim"
      url: "https://build.nvidia.com"
      apiKey: "${NVIDIA_API_KEY}"
      allowedSensitivity: ["public", "internal"]
トラブルシューティング
OpenShellカーネルモジュールの読み込み失敗
# Check kernel module status
nemoclaw diagnose openshell

# If using a custom kernel, ensure eBPF is enabled
# and the kernel version is 5.15+
モデル読み込み時のメモリ不足
# Check available GPU memory
nemoclaw diagnose gpu

# Switch to a smaller quantization or model
nemoclaw model pull nemotron-120b-moe-int2  # Smaller but less accurate
nemoclaw model pull nemotron-nano-4b  # Much smaller
次のステップ
これでDGX Spark上で完全に動作するNemoClawのデプロイメントが完成した。ここからは以下のことが可能である:
- 1.特定のユースケースに合わせてセキュリティポリシーをカスタマイズ
- 2.組織のエージェントワークフローに合わせたカスタムBlueprintの構築
- 3.既存のSIEMおよびオブザーバビリティツールとの統合
- 4.NemoClaw Clusterモードを使用したマルチノードデプロイメントへの拡張
次回の記事では、OpenShellのセキュリティランタイムについての詳細解説をお届けする。